I love ice makers. These are quick and easy ways to make ice quickly, create simple cocktails, or save time in the kitchen. These devices don’t stay clean for long. Over time a little dust, that’s why you should know how to clean an ice maker.
How do you know when it’s time to clean your ice machine? What supplies are needed and what steps should you take to make sure your ice maker is clean? Below are some important points. After following this guide, you should know everything you need to take care of your ice maker.
Signaling It’s Time To Clean Your Ice Maker
There are a few signs that it’s time to clean your portable ice maker. These signs include:
- Have you noticed that your ice cubes are much smaller than usual?
- If you look inside the ice machine, you will see that there has been a build-up of dirt, dust, and grime.
- When you add ice to your drinks, it makes them look a little weird.
- The water coming out of the ice maker is cloudy instead of clear.
- The ice maker is taking longer than usual to dispense ice.
These signs indicate that your ice maker is in need of some tender love. What do you have to do?
What Materials Do You Need?
It’s easy to clean an ice maker. It won’t take many materials and you probably already have most of the necessary tools around the house. The materials you will need are:
- A strong cleaner such as white vinegar or lemon juice should be used.
- You will need a soft cloth to clean the inside and outside of the ice maker. A microfiber cloth is preferable. It is important not to use coarse materials which could scratch the ice machine. If you scratch the ice maker, it may affect ice cube formation. Scratches are also a great place for bacteria to hide.
- You will need a spray bottle.
- Access to hot water is essential if you don’t want your dirty ice maker to melt.
- If you feel like your ice machine has a lot of cracks and crevices, then you may want to use Q-tips or a toothbrush that can get into these small areas. Make sure you use soft bristles to avoid scratching the ice maker.
- Also, make sure you have a towel ready in case water spills from the ice maker.
You should have all the materials you need to get started.
The Step-by-Step Guide
These are the steps to properly clean an ice maker. They include:
Empty the Ice Maker
The first thing you need to do is empty the ice maker. If there is water in the ice maker, make sure you dump it in a safe place. Also, remove any ice cubes from the ice maker. You need to take out all the contents if you want to make cleaning your ice maker easier.
Disassemble the Ice Maker
It’s time to disassemble the ice maker once it’s been empty. It is important to disassemble the ice maker into its individual parts. This will make it easier to clean every single part of the ice maker. If there are any loose parts, you may want to leave them on a towel so you don’t lose them. This is also a safe place for them to dry.
Prepare the cleaning solution
Next, prepare your cleaning solution. Take the spray bottle and fill it with warm water. Next, add lemon juice or vinegar to the water in your spray bottle. If you’re using vinegar, you may want to go with a 1 to 2 solution of vinegar in water. If your ice maker is particularly dirty, you may want to go for a one-to-one solution instead.
Follow the steps above to create your own cleaning solutions
Spray the ice maker and accessories
Next, you should use the spray bottle to wash out the ice maker and accessories. You should use plenty of cleaning solutions as you go. Make sure you grab every single side of the ice maker and accessories. This may mean you have to twist the attachments to spray the other side. It may take a bit of twisting to spray the inside of the ice maker, but make sure you don’t miss any spots.
Clean the ice machine and accessories
Once you’ve thoroughly worked on the components, it’s time to dry them. To thoroughly clean the accessories and interior, you should use the microfibre towel. Make sure you get every single surface with the cloth.
Rinse Ice Maker
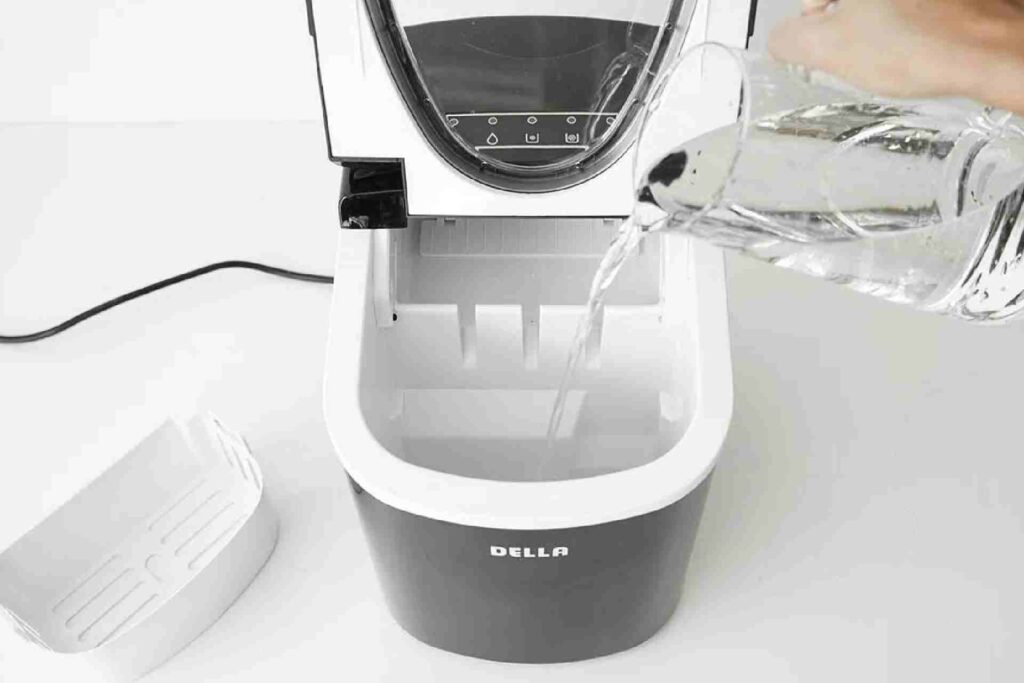
Next, you need to rinse the ice maker to remove the cleaning solution. You have to make sure you’re thorough, or you could end up with an extravagant taste the next time you pour ice. Use a clean jug to pour water inside. You should make sure to rinse the accessories as well. Double-check that the cleaning solution has been completely removed from inside your ice maker.
After removing the ice tray, rinse off any remaining cleaning solution
Don’t Forget The Outside
If you haven’t already, you should repeat this process with the outside of the ice maker. If there is an ice dispenser, clean it thoroughly. You may also want to clean the grates that catch ice that can’t fit into the glass. This is your target area for cleaning.
Reassemble the Ice Maker
After completing all of these steps, it’s time to reassemble the ice maker. Before assembling the ice machine, make sure that each component is completely dry. You may make the environment more conducive to dirt and grime buildup if you put the ice maker back together while it’s still wet.
Prepare and unload a batch of ice cubes
Finally, you need to make sure that the cleaning solution has been drained from the ice maker. You can do this by making a new batch of ice cubes and then dumping them down the sink. You may want to use a clean bucket to collect the ice cubes. This is to flush out any cleaning solutions that may have been left in the ice maker. Once you’ve done that, you should be ready to go again.
Why Should You Clean Your Ice Maker Regularly?
- Bacteria: Bacteria growth is facilitated by humidity, especially when your kitchen equipment gives you access to food. To keep bacteria from destroying your ice machine, you need to clean it regularly.
- Food: There may be food in the ice machine. Bad food can cause dangerous contamination. When this happens, you could give someone food poisoning by giving them contaminated ice cubes.
- Longevity: You want your ice maker to last as long as possible. To make sure this happens, you need to clean it regularly. If you don’t clean your ice maker, it will become clogged. Your ice maker will have to work harder to dispense the ice, shortening its lifespan.
While it can be frustrating and time-consuming to clean your ice maker, you need to keep these important points in mind. That way, you’ll remember why it’s so important to clean your ice maker regularly.
Ice Machine Cleaning: Common Mistakes To Avoid
When cleaning your ice machine, it’s easy to make mistakes. Here are some mistakes to avoid:
- You don’t have to disassemble the Ice Maker. You won’t be able to clean every part properly if you don’t.
- Do not let the parts dry: You must allow the parts to dry before reassembling the ice maker. If the ice maker is still wet when you reassemble it, you may be creating an environment conducive to mold growth.
- Don’t dump the first batch of ice. Otherwise, you may notice a vinegary aftertaste in the ice cubes.
These are some common mistakes to avoid when cleaning your ice machine. You will be able to clean your ice maker more often.
Keep your ice machine clean
It is essential to clean the ice machine regularly. To prevent food contamination and bacterial buildup, you should clean your ice machine regularly. Vinegar or lemon juice mixed with water is a great way to clean your ice machine. After cleaning them, rinse them thoroughly. If you take care of your ice maker, he will take care of you.
If you found this article helpful, check out our other articles or free guides. You can also subscribe to our mailing list.
Good day!